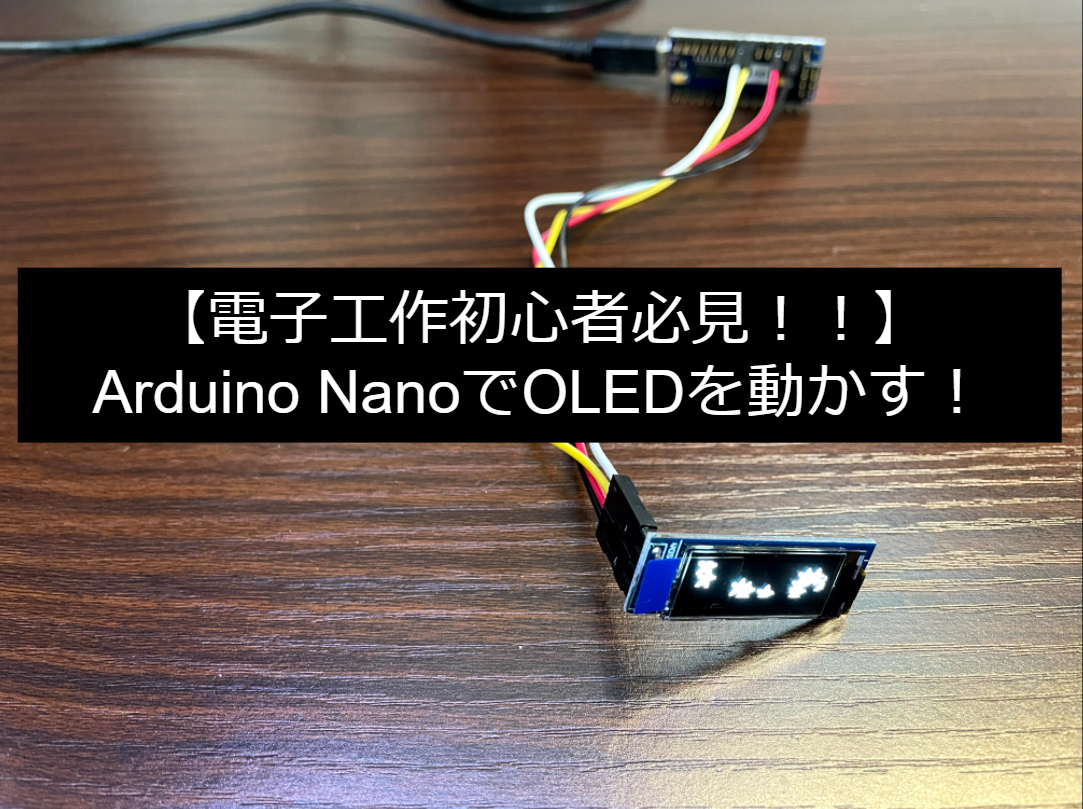
Arduino Nanoを用いてOLEDを実装したので、そのやり方について紹介したいと思います。
この記事を読むことで、超安価なマイコンであるArduino NanoでOLEDが動かせるようになります。
動かしている動画が以下のものです。
youtu.be
OLEDを動かせることで、画面に文字を表示したり、絵を表示するようなGUIを作ったり、センサから取得してきたデータを表示したりできます。これにより、自作IoT機器やロボットがより華やかになること間違いなしです!
ESP32版はこちら
www.takeshi-1222.com
Arduino Nano, OLEDの簡単な説明
Arduino Nano
Arduino Nanoは超安価で購入ができるマイコンで、電気やプログラミングの深い知識を持っていない電子工作初心者でも扱いやすい、オープンソースマイコンです。
Arduinoと比較すると、性能は劣るものの、安価で広い用途で使用可能なので初心者に適しています。
リンク
ちなみに、上記が純正品ですが、互換品である以下も性能面では変わらないので強いこだわりがない限りは、互換品の方がおすすめです。
リンク
OLED
OLEDは世間でいうところの有機ELディスプレイです。最近のテレビのディスプレイによく使われており、液晶ディスプレイと比べて、高コントラストで人気です。液晶 (LCD)に比べ、単価は、OLEDの方が高いが、小型で様々な映像表現ができます。
リンク
これがあることでセンサ情報に対して、視覚的にわかりやすい情報を提示できるようにできます。これの真骨頂はセンサと組み合わせなどで実現できますので、その記事も今後書きます。
実験構成
今回の実験に使用する部品は以下のものです。
- Arduino Nano (互換品)
- OLEDディスプレイ (SSD1306)
- ジャンパ線多数
Arduino Nano、OLEDディスプレイは上記のものを使用しています。
ジャンパ線は何を使用してもいいですが、一応リンクを張っておきます。(メスメスのみで配線可能です)
リンク
実験
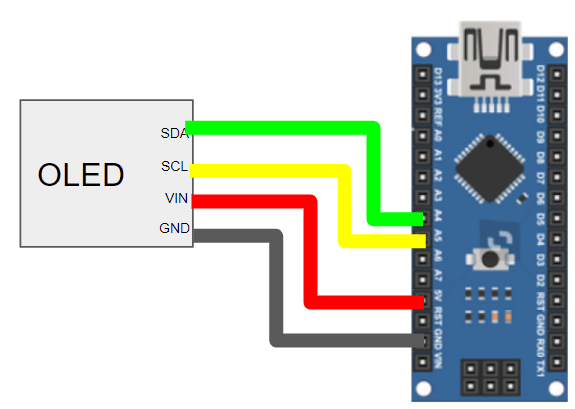
配線
ピンアサインは以下のようになっています。

@Arduino NANO Pinout Diagram | Microcontroller Tutorials
まず配線は以下のようにします。
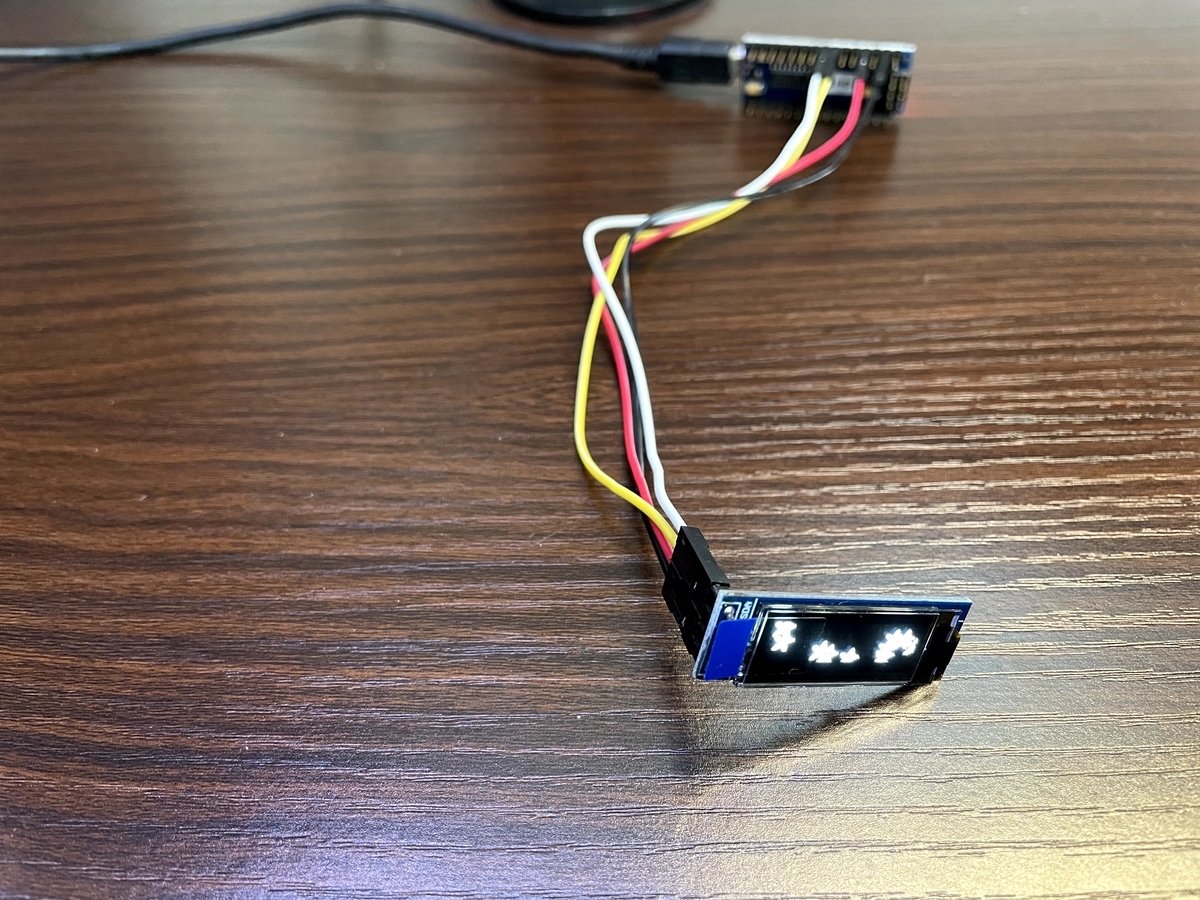
配線ができると以下のような画像のようになります。
実行コード
ここまで出来たら以下のコードを実行することで動作確認ができます。
#include <SPI.h>
#include <Wire.h>
#include <Adafruit_GFX.h>
#include <Adafruit_SSD1306.h>
#define SCREEN_WIDTH 128
#define SCREEN_HEIGHT 32
#define OLED_RESET 4
Adafruit_SSD1306 display(SCREEN_WIDTH, SCREEN_HEIGHT, &Wire, OLED_RESET);
#define NUMFLAKES 10
#define LOGO_HEIGHT 16
#define LOGO_WIDTH 16
#define XPOS 0
#define YPOS 1
#define DELTAY 2
static const unsigned char PROGMEM logo_bmp[] =
{ B00000000, B11000000,
B00000001, B11000000,
B00000001, B11000000,
B00000011, B11100000,
B11110011, B11100000,
B11111110, B11111000,
B01111110, B11111111,
B00110011, B10011111,
B00011111, B11111100,
B00001101, B01110000,
B00011011, B10100000,
B00111111, B11100000,
B00111111, B11110000,
B01111100, B11110000,
B01110000, B01110000,
B00000000, B00110000 };
void testdrawstyles(void) {
display.clearDisplay();
display.setTextSize(1);
display.setTextColor(SSD1306_WHITE);
display.setCursor(0,0);
display.println(F("Hello, world!"));
display.setTextColor(SSD1306_BLACK, SSD1306_WHITE);
display.println(3.141592);
display.setTextSize(2);
display.setTextColor(SSD1306_WHITE);
display.print(F("0x")); display.println(0xDEADBEEF, HEX);
display.display();
delay(2000);
}
void testanimate(const uint8_t *bitmap, uint8_t w, uint8_t h) {
int8_t f, icons[NUMFLAKES][3];
for(f=0; f< NUMFLAKES; f++) {
icons[f][XPOS] = random(1 - LOGO_WIDTH, display.width());
icons[f][YPOS] = -LOGO_HEIGHT;
icons[f][DELTAY] = random(1, 6);
Serial.print(F("x: "));
Serial.print(icons[f][XPOS], DEC);
Serial.print(F(" y: "));
Serial.print(icons[f][YPOS], DEC);
Serial.print(F(" dy: "));
Serial.println(icons[f][DELTAY], DEC);
}
for(;;) {
display.clearDisplay();
for(f=0; f< NUMFLAKES; f++) {
display.drawBitmap(icons[f][XPOS], icons[f][YPOS], bitmap, w, h, SSD1306_WHITE);
}
display.display();
delay(200);
for(f=0; f< NUMFLAKES; f++) {
icons[f][YPOS] += icons[f][DELTAY];
if (icons[f][YPOS] >= display.height()) {
icons[f][XPOS] = random(1 - LOGO_WIDTH, display.width());
icons[f][YPOS] = -LOGO_HEIGHT;
icons[f][DELTAY] = random(1, 6);
}
}
}
}
void setup() {
Serial.begin(9600);
if(!display.begin(SSD1306_SWITCHCAPVCC, 0x3C)) {
Serial.println(F("SSD1306 allocation failed"));
for(;;);
}
display.display();
delay(2000);
display.clearDisplay();
display.drawPixel(10, 10, SSD1306_WHITE);
display.display();
delay(2000);
testdrawstyles();
display.invertDisplay(true);
delay(1000);
display.invertDisplay(false);
delay(1000);
testanimate(logo_bmp, LOGO_WIDTH, LOGO_HEIGHT);
}
void loop() {
}
上記のソースコードでは、OLEDディスプレイ上に文字を出力した後に、雪が降るアニメーションを表示します。実際には、ここにセンサ情報を出力したいです。
まとめ
今回は、Arduino NanoでOLEDを動かすために必要なものの紹介と、サンプルプログラムの紹介をしました。
参考資料
ESP32でOLEDディスプレイ「SSD1306」にHello-world表示してみた | Wak-tech